Wednesday, December 28, 2011

handmade Christmas ornaments for 2011

It should be no surprise that we like to make things.  Christmas theme things are no exception.  Our tree (Dougie Wonderfir) this year looked like this:


Project #1:  Garland
This year, I was set on making some sort of garland.  I had thought about going the paper circles looped together route, but then I looked at my scalloped circle hole punch.  And my massive world atlas I came across for free.  And my garland was born.


I started by punching out hundreds (really!) of circles from different maps.  Then I simply starting sewing a long line without cutting the thread.  I was left with a really long chain of garland.  I ended up making 2 different chains for my tree.


It really couldn't have been easier and faster.  This project reminded me of how much I love garlands.  This could also be a year round decoration.  
Total cost: $0


Project #2: Felt Circle Trees
I found these circle felt trees at Target a few weeks before Christmas.


I loved them.  I wanted them for my tree.  $3 was pretty cheap, but I knew I could make them without much effort.  
I did not have the thicker felt the store bought trees had, but I do have just about every color of felt under the sun.  The end result:


My trees ended up having a bit more movement and I opted to not included the rolled up felt for the trunk.  Or the circle topper.  I used plastic beads I've had forever and spaced two beads between each layer of felt.


Simple, colorful, and fun.  
Total cost: $0.


Thursday, December 15, 2011

O Christmas wreath, o Christmas wreath....how little did you cost me to make


We put the tree up, decorated our house so me, have been opening our advent calendar everyday, and making ornaments.  But I had yet to make a season appropriate wreath for our front door.  We've had this everyday wreath up since the summer.  I love it, but it doesn't say Christmas and winter goodness.  So this past weekend I made one that does.  Oh and it cost nothing.

All that's needed is:
* wreath form (I used an extra flat one I had leftover from last Christmas for this recycled milk cap wreath)
*yarn
*felt
*ribbon
*hot glue
*scissors


First, I started out by tying a knot with the yarn through one of the wreath form holes.
  

Then, I just kept wrapping the yarn around and around and around until it was completely covered.  This is really easy and the yarn stays in place without any glue.  This would've been even more easier if I wouldn't have chosen yarn that was in one huge tangle.  But the color was just right and was worth the extra effort of untangling.  


Green!

I only went around once, but you could do multiple layers with the yarn if you wanted.  I don't mind a faint bit of the brown form peeking through in certain areas.


Next, I made some felt flowers.  I have loved this technique since I found a tutorial online and used it in my previous wreath.  (For felt flower how-to, see this summer wreath post.)  I made a bunch and then hot glued them in place.


I chose to go with grays, creams, and a hint of blue for the flowers.  I didn't want to make a completely literally red and green Christmas wreath that I'd have to take down in 2 weeks.  Instead I wanted something a bit more winter season than December 25th.  

After all the flowers were securely in place, I still thought it needed something else.  So I found some brown ribbon and tied a bow to the top of the wreath.  I then glued a red felt flower to the center of the ribbon.  


Perfect winter wreath for $0.

Thursday, November 24, 2011

early christmas softie sale


In the spirit of the crazy Black Friday/Cyber Monday/ beginning of Christmas shopping craze.....


Plush Sale!  Now through Friday, December 9th:  All owl and elephant plush are on sale!  Owls are $17.50 and elephants are $21.50!  

New owls and elephants to be listing throughout this sale.


The owl above, Owen, is one of my newest owls I made.  I've had this fabric for about a year, but never knew what to use it for.  It's pretty busy as a whole, but broken into smaller sections, it's really quite eye catching and playful.  


This owl, Denise, is from the other batch of Denyse Schmidt fabric I got from Jo-Ann. Here's the other fabric.


And don't forgot about the elephants!  This take longer for me to make, so I can't make as many as the owls.  But I love their movable arms and trunks!

Happy Thanksgiving!

Wednesday, November 23, 2011

best prints you've ever seen....


I'm very excited to share some of my husband's newest work.  Kinsey has been drawing for quite some time and is super creative.  He made his younger sister's wedding invitations this past summer and has been playing around with hand drawn text for a while.  A few weeks ago, he opened his own  hand drawn illustration shop on etsy.  His shop is called eager illustration.  


Currently, he's been working on a lot of animal portraits.  I love all of them, but the owl is my favorite.  I really need to have him print one for my craft room.


They all feature an original animal drawing and below is a banner with hand drawn text.  All the prints are hand drawn and then digitally colored.  Most of the prints feature a wonderfully textured paper canvas which gives a nice dimension to the artwork. 


He also is doing portraits of people.  Lincoln, anyone?


Just this past weekend, we did a craft show together and his prints got a really good response from customers!  Check out his shop and blog for more information!   

Tuesday, November 22, 2011

Owls and Elephants and Animals....Oh my!


If you've checked out my shop recently, you've no doubt noticed I've been making some plush toys.  A LOT of plush toys.  I'm currently featuring plush owls and plush elephants, but am currently working on more or less  3 other designs of animals.  I really like the idea of making functional art and craft that can be played with, used, or just displayed.  (Not that the clutches I make can't be used, but they will never be as fun to play with as a plush animal.)


Each animal is listed in the shop with a name and a little bit about him or her.  


Above is Oliver.  He is now in California where his new owner is feeding his hot cocoa addiction.  


This is Elise.  Her hobbies include painting, drinking jasmine green tea, an finding vintage jewelry at thrift shops.


This is Olivia.  I found her belly fabric at Jo-Anns and it belongs to the Densye Schmidt line.  I used this fabric as soon as I got home, which is saying quite a bit.  I have a ton of fabric and find that I usually "reserve" my really great fabric for certain well planned out projects that may or may not ever happen.  I'm hoping to use some of this fabric for a quilt (the same quilt I've been saying I'm making for over a  year now), but couldn't resist making a few owls with this pattern.

Oh, and I'll be announcing my Black Friday/Cyber Monday/Two Week Special sale on Thanksgiving.   Get ready.


Friday, October 21, 2011

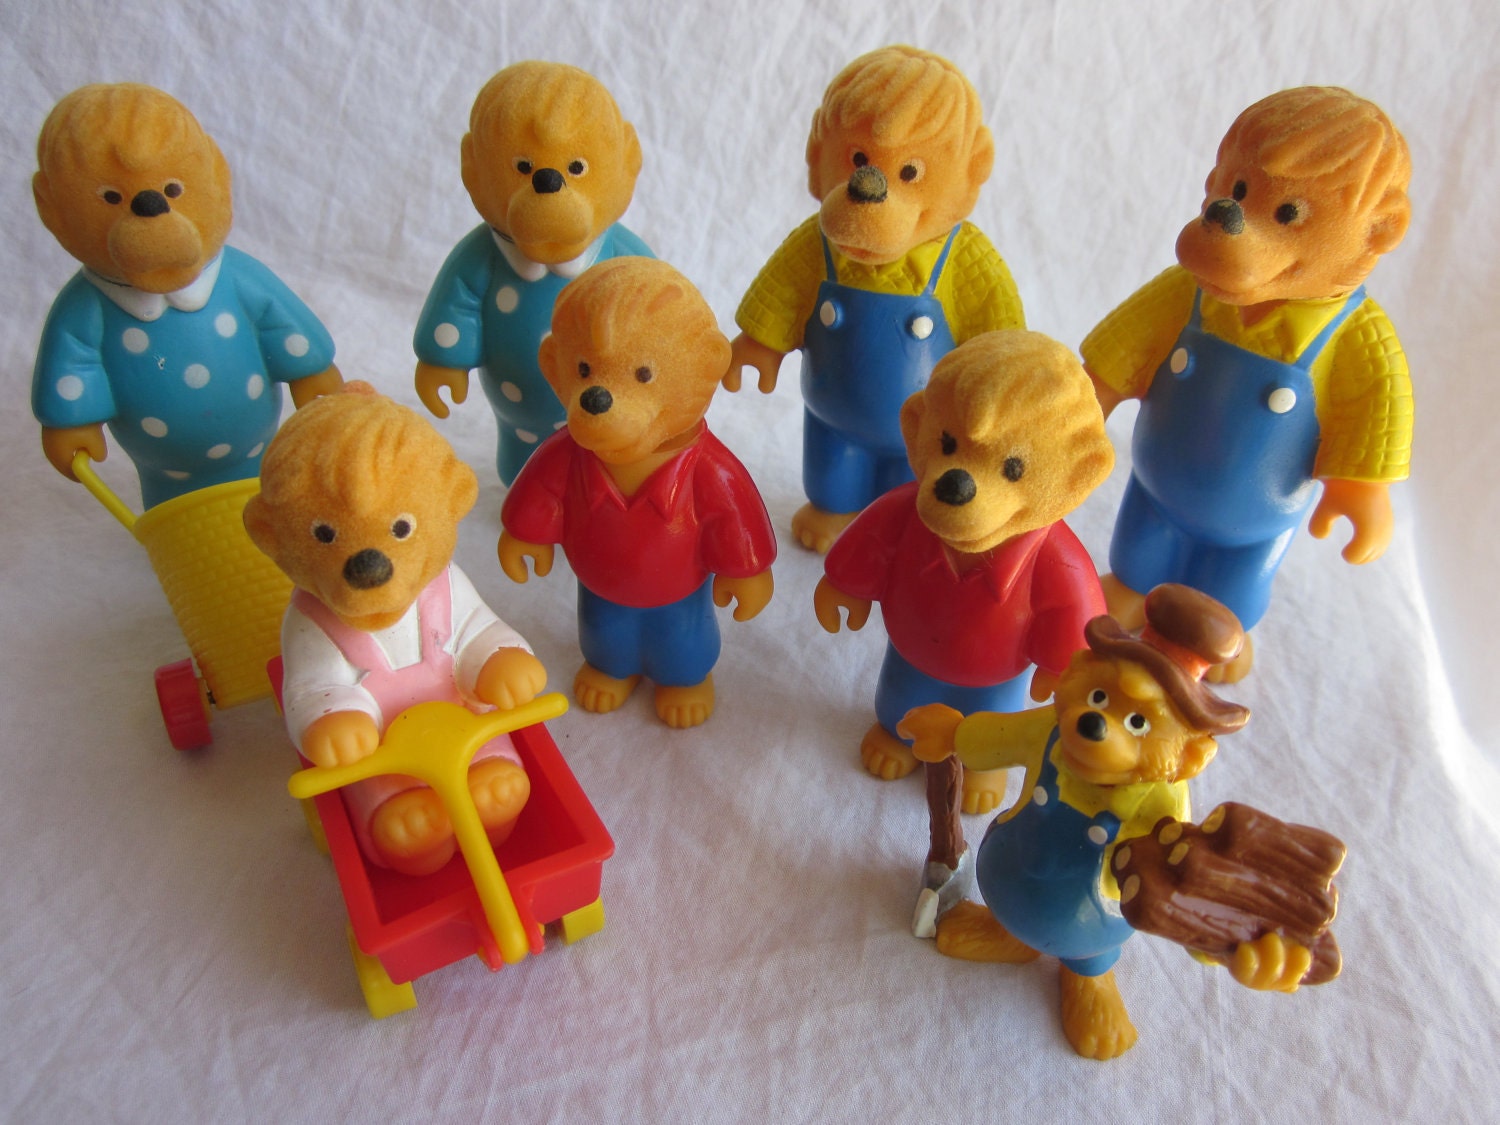
Berenstain Bears

I'm not going to lie.  I almost bought these from this etsy store.
Then I remembered, I'm 25.  
But, I did just pick up my childhood collection of 30+ Berenstain Bear books from my parents' house this past weekend.  

I had no idea until today that new additions to the beloved series are still being published!  It seems that Mama and Papa had a 3rd child somewhere down the line.  

How I love the Berenstain Bears!  

Monday, October 17, 2011

Coming this Wednesday....


Meet the elephants! These ellie-guys and ellie-girls with be in the shop on Wednesday.

They're all decked out in their finest....


...and getting in shape in the meantime.

Friday, October 7, 2011

Acadia...four years later

We just came back from a 1 and a half week trip to Acadia National Park.  We first went to what we call our "favorite place ever", on our honeymoon back in 2007.  We decided to celebrate our fourth anniversary with a trip back to the park and some much needed relaxation.  


 Here's an overlook at the top (well, what we discovered to be the first of the three "peaks") of a mountain that we grossly underestimated the climb.  At the top, you could look out over the lakes, oceans, and land of the island.  It was a great first hike of our trip and an excellent place to enjoy a soft pretzel and maple mustard that we packed from our new favorite bakery.  (I admit that I became rather obsessed with these pretzel nuggets of glory....and the mustard was phenomenal.  I could eat one everyday.)


This is from my favorite "secret" spot along the park loop in Acadia.  There is a little pebble beach that isn't marked at all and you wouldn't know it was there if you weren't looking for it.  I have no idea how we found it on our honeymoon four years ago, but we did and we think of this place when we think of Maine.  There are all kinds of gorges between the mountain of rocks and when the water is rough, you can witness some pretty intense wave crashes.  I love this sheltered hole of water along the edge.  Check out the those colors!

Kinsey skipping stones on the "secret" beach.  


A trail in the woods we followed.  Who doesn't like the quiet of the forest with soft pine needles on the ground and moss?


Two of the videos stocked in our cabin.  We aren't movie people (we have only been to the movies 4 times in the seven years we've been together), but these scream us.  Seriously.  Unfortunately, we didn't have a chance to watch them.   


We did have time for these books.  A Walk in the Park proved to be an invaluable guide.  It list all the trails in the park with detail information on the elevation, difficultly, terrain, and different routes.  We learned that when the author says "different and strenuous", he means it.  We wanted an easy hike one day and chose a trail described as "one of the most difficult and dangerous trail in the park".  (Jordan Cliffs, anyone?)  
I loved the bright orange book (which takes a certain person to enjoy) and the one with the raccoon proved informative when on our last night at the cabin, we saw a family of raccoons come right up to our (glass and locked) screen doors.  Raccoons are much larger in real life than you may think.  The only other time we saw one was in the middle of the day at a nearby creek back home and yes, it definitely wasn't healthy.  

We stayed here.  The cabin was in a wonderful location in the park and really close to trails (walking distance).  We loved this fireplace in the corner.  The window to the right of the fireplace is where the family of raccoons came up.  The cabin even had a small loft (which I named the "puzzle loft" because there were puzzles up there).  

Here's the outside of the cabin.  Complete with a birch tree growing in the middle of the wooden walkway to the door.  Love it.  

Friday, July 29, 2011

I love felt and making an easy summer wreath


I recently made (or actually upgraded) a wreath for a front door.  This weaved twig wreath has been on our front door since winter.  Back in the holiday months, it sported some festive ribbon and tiny glass balls.  After Christmas, I removed the decorations and just kept the bare wreath up.  Everyday it seemed to be saying to me, "Cloth me!  Decorate me again!"
I finally listened.

 And one of the best parts is, I already had everything I needed for the project!


The supplies needed are very few.  Felt (any felt will do really, even the cheaper sheets available at craft stores are great for making these flowers, so there's no need to buy the expensive felt.), glue gun, and wreath.  That's it.  I already had the wreath and a glue gun and felt are pretty much staples in our house.  So the total cost of this project = $0.


 First step is to cut out circles of felt.  Then, cut in to the circle making a spiral shape.  At the beginning, cut a normal strip and gradually have the strip get thicker.  You'll end up with a little circle "knob" in the middle.  It should look something like this:

Starting at the narrow end of the spiral, roll the felt up.  Be sure to keep the bottom of the felt lined up straight.  

As you keep going, little "petals" will form.  It will start looking a little something like this:

 Here's where the glue gun comes in.  When you roll up all the felt and get to the center, put a dollop of glue on the felt right before the spiral gets to the center "knob".  

The last step is putting a few more dollops of glue along the flower back and then pressing the center down.  

Hello finished felt flower!

Making these flowers can be very addicting.  It's super easy to do and you can make them in all different colors and even in multiple tones.  If you're like me, you'll make more than enough for your wreath.

Next, comes placement.  I recommend laying them on the wreath before gluing to get the design and composition that you want.  

Once you're happy with the placement, hot glue the flowers on.  You can always add things like ribbon or buttons to the wreath, too.  

And the finished wreath hanging:

A lovely and incredibly easy summer wreath.  You'd be foolish not to make one yourself!